

Maintaining your nail drill cuticle bit is crucial for both its performance and longevity. As a supplier of high - quality nail drill cuticle bits, I've had the opportunity to see firsthand the importance of proper maintenance from various perspectives.
Understanding Your Nail Drill Cuticle Bit
First, it's essential to understand what a nail drill cuticle bit is and how it operates. A nail drill cuticle bit is a small, specialized tool used in nail salons and for personal nail care. It is designed to gently remove excess cuticles around the nails, providing a clean and professional look.
There are different types of nail drill cuticle bits available in the market. One popular type is the Ceramic Cuticle Bit. Ceramic cuticle bits are known for their durability and sharpness. They can withstand high - speed use without losing their cutting edge quickly. Another type is the Flat Nail Drill Bit, which is ideal for more precise work on the cuticles. It allows for a flat and even removal of dead skin cells. And then, there's the Ceramic Nail Drill, which is often paired with these bits for a seamless manicure experience.
Pre - use Inspection
Before using your nail drill cuticle bit, always conduct a visual inspection. Look for any signs of damage such as cracks, chips, or loose parts. If the bit is damaged, it not only won't perform well but can also pose a risk to the client's nails. For example, a chipped bit may cause uneven cuts on the cuticles or even scratch the nail surface.
Check the shank of the bit, which is the part that connects to the nail drill. Make sure it is clean and free of debris. A dirty shank can lead to a loose connection, causing the bit to wobble during use. This not only affects the quality of the manicure but can also be dangerous as an unstable bit may be more likely to break during operation.
Cleaning After Use
One of the most critical steps in maintaining your nail drill cuticle bit is cleaning it after each use. After removing the bit from the nail drill, start by gently tapping it on a clean surface to remove any large pieces of cuticle or debris. Then, soak the bit in a suitable cleaning solution. A mild antibacterial solution is often a good choice as it helps to kill any germs that may have accumulated on the bit during use.

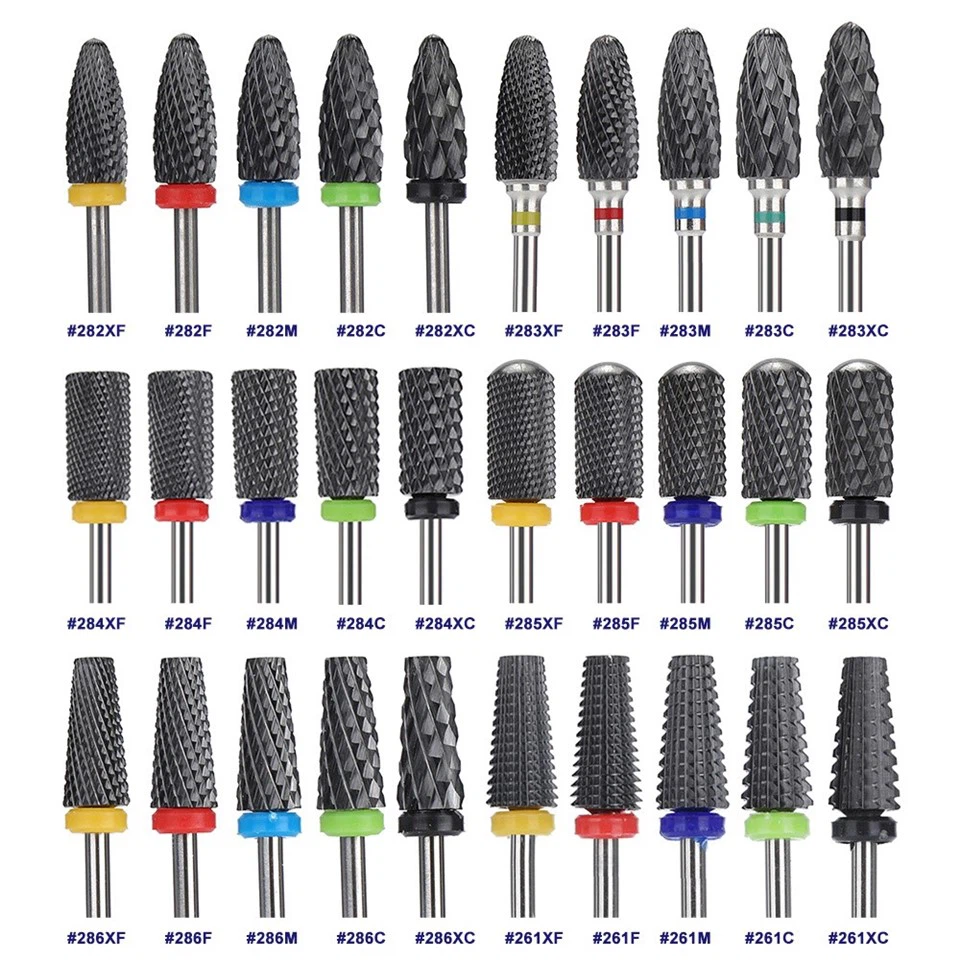
Let the bit soak for about 10 - 15 minutes. During this time, you can use a soft - bristled brush, such as an old toothbrush, to gently scrub the bit. Pay special attention to the cutting edges and any crevices where debris may be trapped. Rinse the bit thoroughly under running water to remove all traces of the cleaning solution.
After rinsing, dry the bit completely. You can use a clean, dry cloth to pat it dry or let it air - dry. Moisture left on the bit can lead to rusting, especially if the bit has metal components. Once dry, store the bit in a clean and dry container.
Sterilization
Sterilization is an essential step in maintaining the hygiene and safety of your nail drill cuticle bit. There are several methods of sterilization available. One common method is using an autoclave. An autoclave uses high - pressure steam to kill bacteria, viruses, and other microorganisms. Place the clean and dry bit in a sterilization pouch and then into the autoclave. Follow the manufacturer's instructions for the correct sterilization cycle.
Another option is using a UV sterilizer. A UV sterilizer emits ultraviolet light, which can effectively kill germs. Place the bit inside the UV sterilizer and turn it on for the recommended amount of time, usually around 10 - 15 minutes. However, it's important to note that UV sterilization may not be as effective against all types of microorganisms as autoclaving.
Storage
Proper storage is key to maintaining the quality of your nail drill cuticle bit. Store the bits in a clean and dry place, away from direct sunlight and moisture. You can use a dedicated storage case or a small container with compartments to keep the bits organized. This not only protects the bits from damage but also makes it easier to find the right bit when you need it.
Avoid storing the bits in a cluttered drawer where they can get knocked around and damaged. Also, make sure to separate different types of bits to prevent them from scratching or damaging each other.
Sharpening and Replacement
Over time, even the highest - quality nail drill cuticle bits will become dull. Knowing when to sharpen or replace your bits is important. A dull bit will require more pressure to use, which can cause discomfort to the client's cuticles and may also lead to uneven results.
Some types of bits, such as ceramic bits, may not be easily sharpened at home. In such cases, it's often best to consult a professional or consider replacing the bit. For bits that can be sharpened, you can use a sharpening tool specifically designed for nail drill bits. Follow the instructions carefully to ensure you don't damage the bit further.
Common Mistakes to Avoid
- Using the wrong cleaning solution: Harsh chemicals can damage the bit. Always use a mild and appropriate cleaning solution.
- Not drying the bit properly: Moisture can lead to rust and other forms of damage.
- Skipping sterilization: This is a crucial step for maintaining hygiene and preventing the spread of infections.
- Overusing a dull bit: It not only affects the quality of the manicure but can also cause harm to the client.
Conclusion
Maintaining your nail drill cuticle bit is a multi - step process that requires attention to detail. By following these steps of pre - use inspection, proper cleaning, sterilization, storage, and knowing when to sharpen or replace the bit, you can ensure that your nail drill cuticle bit remains in excellent condition for a long time.
As a supplier of top - notch nail drill cuticle bits, I'm here to provide you with high - quality products and the knowledge to keep them in the best shape. If you're interested in purchasing our nail drill cuticle bits or have any questions about maintenance, feel free to reach out and start a procurement discussion. Our team is always ready to assist you in finding the right products for your needs.
References
- Professional Nail Care Association: Guidelines for Nail Tool Maintenance
- Manufacturer's manuals for nail drill cuticle bits and related equipment