Hey there, nail enthusiasts! As a supplier of nail cuticle drills, I'm super excited to share with you how to use a nail cuticle drill for nail cuticle restoration. It's a game - changer in the world of nail care, and once you get the hang of it, you'll wonder how you ever did without it.
What is a Nail Cuticle Drill?
First things first, let's talk about what a nail cuticle drill is. It's a small, handheld tool that uses a rotating bit to gently remove excess cuticle, dead skin, and clean up the edges around your nails. It's way more precise and efficient than traditional cuticle pushers or nippers. There are different types of bits available for different tasks, and I'll go over those in a bit.
Preparing for the Process
Before you start using the nail cuticle drill, you need to prep your nails properly. Soak your hands in warm, soapy water for about 5 - 10 minutes. This softens the cuticles, making them easier to work with. Pat your hands dry with a clean towel.
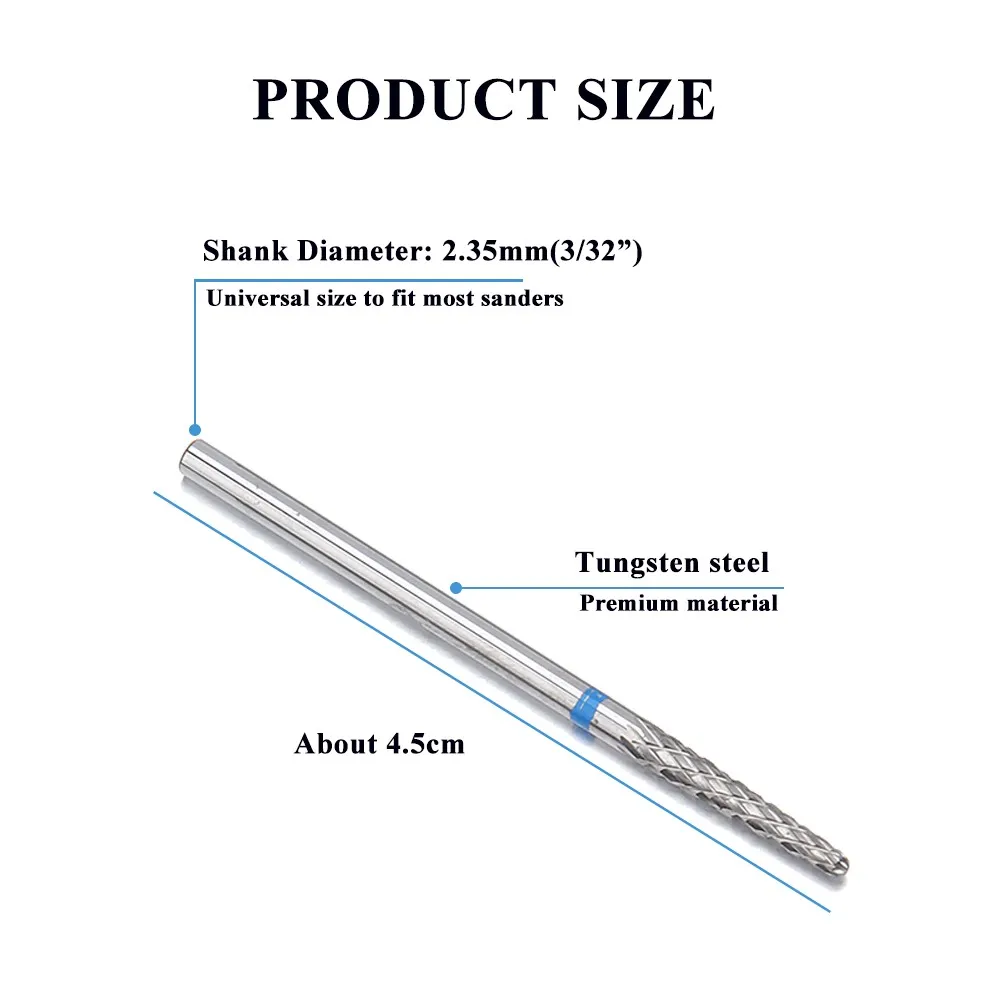
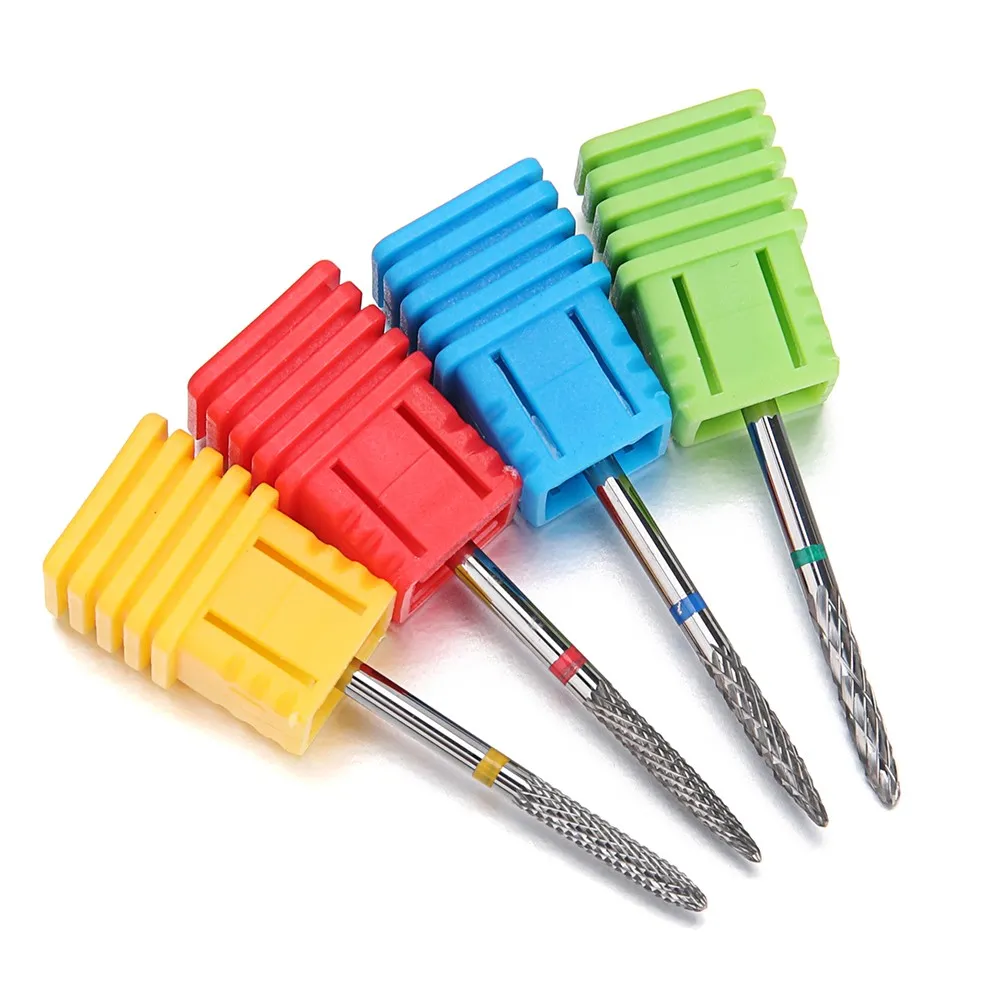
Next, choose the right bit for the job. For general cuticle removal and restoration, a Diamond Cuticle Bit is a great option. It's gentle on the skin but still effective at removing dead cuticle. If you need to get into some tight spaces or shape the cuticle area, a Cone Nail Drill Bit can be really useful. And if you're dealing with tougher cuticles, Tungsten Carbide Nail Drill Bits are your go - to. They're super durable and can handle more stubborn cuticles.
Setting Up the Drill
Once you've chosen your bit, it's time to set up the drill. Make sure the drill is unplugged before you insert the bit. Most nail cuticle drills have a chuck that you can loosen to insert the bit. Place the bit in the chuck and tighten it securely. You don't want it to come loose while you're using it.
Now, plug in the drill and turn it on. Start with a low speed setting, especially if you're new to using a nail cuticle drill. You can always increase the speed as you get more comfortable.
Using the Drill for Cuticle Restoration
Let's start the actual cuticle restoration process. Hold your hand steady and position the drill bit at a 45 - degree angle to the cuticle. Gently touch the bit to the edge of the cuticle and start moving it in a slow, circular motion. Don't press too hard; let the drill do the work.
Move from one side of the nail to the other, focusing on removing the excess cuticle. Be careful not to get too close to the live skin. You just want to remove the dead, overgrown cuticle. If you feel any pain or discomfort, stop immediately. You might be pressing too hard or getting too close to the sensitive skin.
As you work, you'll notice that the drill is effectively removing the cuticle and leaving a clean, smooth edge around the nail. Keep checking your progress and adjusting the pressure and speed as needed.
After you've finished working on one nail, take a break and give your hands a little rest. Then, move on to the next nail. It's important to take your time and be patient. Rushing through the process can lead to mistakes and potentially damage your nails or skin.
Post - Drill Care
Once you've finished using the nail cuticle drill on all your nails, it's time for some post - drill care. Wash your hands again with warm, soapy water to remove any debris. Pat them dry and apply a good cuticle oil or moisturizer. This will help keep your cuticles hydrated and healthy.
Massage the oil or moisturizer into your cuticles and nails. This not only nourishes the cuticles but also improves blood circulation in the area, which is great for overall nail health.
Tips and Tricks
- Practice makes perfect: If you're new to using a nail cuticle drill, practice on a dummy nail or an old nail first. This will help you get used to the feel and movement of the drill without the risk of hurting yourself.
- Keep the drill clean: After each use, clean the drill bit with a brush and some rubbing alcohol. This helps prevent the spread of bacteria and keeps the bit in good working condition.
- Don't overdo it: It's easy to get carried away and try to remove too much cuticle. Remember, your cuticles serve a purpose, which is to protect your nails from infection. Just remove the excess and leave the healthy cuticle intact.
Why Choose Our Nail Cuticle Drills?
Now, you might be wondering why you should choose our nail cuticle drills. Well, we offer a wide range of high - quality drills and bits. Our drills are designed with user - safety in mind. They have adjustable speed settings, so you can customize the drilling experience according to your needs.
The bits we provide are made from top - notch materials. Whether it's the diamond - coated bits for gentle yet effective cuticle removal or the tungsten carbide bits for tough jobs, you can trust that they'll last and perform well.
We also offer great customer support. If you have any questions or run into any issues with our products, our team is always ready to help.
Contact Us for Procurement
If you're a salon owner, a nail technician, or just someone who loves doing their own nails at home and is interested in our nail cuticle drills and bits, we'd love to hear from you. We can offer you great deals on bulk purchases and ensure that you get the products you need in a timely manner. Reach out to us for a procurement discussion, and let's take your nail care game to the next level.
References
- Professional Nail Care Handbook
- Nail Art and Care Magazine