

As a ceramic nail drill supplier, I understand the importance of torque adjustment in achieving the best results when working with ceramic nail drills. Torque refers to the rotational force that a drill exerts, and it plays a crucial role in determining the efficiency and effectiveness of the drilling process. In this blog post, I will guide you through the process of adjusting the torque of a ceramic nail drill, providing you with the knowledge and skills to optimize your nail care routine.
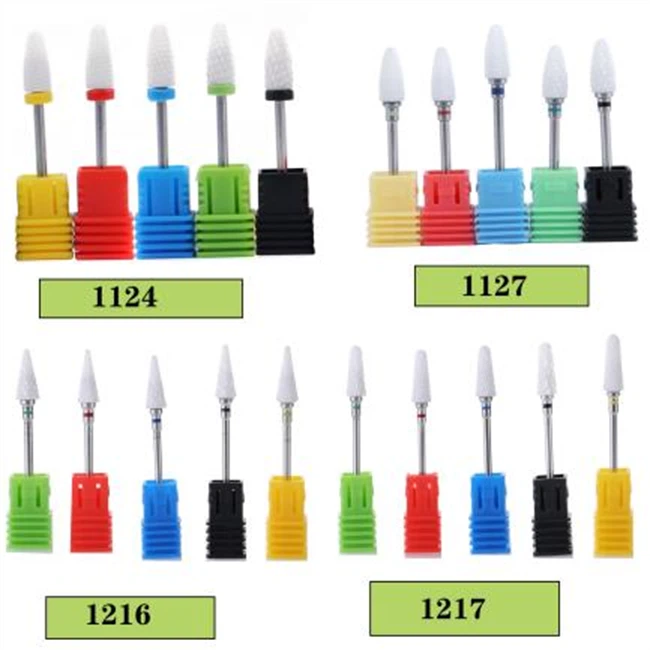

Understanding Torque in Ceramic Nail Drills
Before delving into the adjustment process, it is essential to understand the concept of torque and its impact on nail drilling. Torque is measured in units called Newton-meters (Nm) and is directly related to the power and speed of the drill. A higher torque value indicates a more powerful drill, capable of handling tougher materials and providing more precise control.
When it comes to ceramic nail drills, the torque requirements can vary depending on several factors, including the type of nail bit being used, the thickness and hardness of the nail, and the desired drilling speed. For example, a Ceramic Cuticle Bit may require a lower torque setting for delicate cuticle work, while a Flat Nail Drill Bit may need a higher torque setting for more aggressive shaping and filing.
Factors Affecting Torque Adjustment
Several factors can influence the torque adjustment process, and it is important to consider these variables to ensure optimal performance. Some of the key factors include:
1. Nail Bit Selection
Different types of nail bits have varying torque requirements based on their design and intended use. For instance, a ceramic nail bit with a fine grit may require less torque compared to a bit with a coarser grit. It is essential to select the appropriate nail bit for the task at hand and adjust the torque setting accordingly.
2. Nail Thickness and Hardness
The thickness and hardness of the nail can also impact the torque adjustment. Thicker and harder nails may require a higher torque setting to ensure efficient drilling, while thinner and softer nails may be damaged by excessive torque. It is crucial to assess the nail's condition before adjusting the torque to avoid any potential damage.
3. Drilling Speed
The desired drilling speed is another factor to consider when adjusting the torque. Higher speeds generally require more torque to maintain a consistent and smooth drilling motion. However, it is important to find a balance between speed and torque to prevent overheating and damage to the nail or the drill.
4. User Skill and Experience
The skill and experience of the user can also play a role in torque adjustment. Beginners may prefer to start with a lower torque setting to gain more control and avoid potential mistakes, while experienced users may be able to handle higher torque settings for more advanced techniques.
Steps to Adjust the Torque of a Ceramic Nail Drill
Now that we have a better understanding of torque and the factors that influence its adjustment, let's dive into the step-by-step process of adjusting the torque of a ceramic nail drill.
Step 1: Familiarize Yourself with the Drill
Before making any adjustments, it is important to familiarize yourself with the specific features and controls of your Ceramic Nail Drill. Most ceramic nail drills are equipped with a torque adjustment knob or button, which allows you to increase or decrease the torque setting. Refer to the drill's user manual for detailed instructions on how to access and operate the torque adjustment feature.
Step 2: Select the Appropriate Nail Bit
Choose the nail bit that is most suitable for the task you are about to perform. Consider the nail's condition, the desired drilling speed, and the type of work you need to do. Once you have selected the appropriate nail bit, securely attach it to the drill according to the manufacturer's instructions.
Step 3: Assess the Nail's Condition
Before adjusting the torque, take a moment to assess the thickness and hardness of the nail. If the nail is thick and hard, you may need to increase the torque setting slightly. Conversely, if the nail is thin and soft, a lower torque setting may be more appropriate.
Step 4: Start with a Low Torque Setting
It is always a good idea to start with a low torque setting, especially if you are new to using a ceramic nail drill or working with a particular nail bit. This will allow you to get a feel for the drill's performance and make adjustments as needed. Slowly increase the torque in small increments until you find the optimal setting for the task at hand.
Step 5: Test the Torque Setting
Once you have set the torque, test the drill on a small area of the nail to ensure that it is working effectively. Pay attention to the drilling speed, the smoothness of the motion, and the amount of pressure required. If the drill is struggling or the nail is being damaged, you may need to adjust the torque setting further.
Step 6: Make Necessary Adjustments
Based on the test results, make any necessary adjustments to the torque setting. Remember to make small changes and test the drill again after each adjustment to avoid overcompensating. It may take a few tries to find the perfect torque setting for your specific needs.
Step 7: Monitor the Drill's Performance
While using the drill, continue to monitor its performance and adjust the torque setting as needed. Factors such as the heat generated by the drill, the wear and tear on the nail bit, and the changing condition of the nail can all affect the optimal torque setting. By staying vigilant and making adjustments as necessary, you can ensure consistent and efficient drilling results.
Tips for Optimal Torque Adjustment
To achieve the best results when adjusting the torque of a ceramic nail drill, consider the following tips:
1. Start Slow and Gradually Increase
As mentioned earlier, it is always a good idea to start with a low torque setting and gradually increase it until you find the optimal level. This approach will help you avoid overheating the drill, damaging the nail, or causing discomfort to the client.
2. Use the Right Nail Bit
Selecting the appropriate nail bit for the task is crucial for achieving optimal torque adjustment. Different nail bits have different torque requirements, so make sure to choose the one that is best suited for the specific type of work you are doing.
3. Maintain a Consistent Pressure
When using the drill, it is important to maintain a consistent pressure on the nail. Applying too much pressure can increase the load on the drill and cause it to overheat or lose torque, while applying too little pressure may result in inefficient drilling.
4. Keep the Drill Clean and Well-Maintained
Regular cleaning and maintenance of the drill are essential for maintaining optimal performance. A dirty or poorly maintained drill can cause the torque to fluctuate and reduce the lifespan of the drill and the nail bits. Follow the manufacturer's instructions for cleaning and oiling the drill to ensure smooth operation.
5. Seek Professional Advice
If you are unsure about how to adjust the torque of your ceramic nail drill or if you are experiencing any issues with the drill's performance, don't hesitate to seek professional advice. A qualified nail technician or the manufacturer's customer support team can provide you with valuable guidance and assistance.
Conclusion
Adjusting the torque of a ceramic nail drill is a crucial step in achieving the best results when working with nails. By understanding the concept of torque, considering the factors that affect its adjustment, and following the steps outlined in this blog post, you can optimize the performance of your drill and ensure a safe and efficient nail care routine.
As a ceramic nail drill supplier, we are committed to providing our customers with high-quality products and expert advice. If you have any questions or need further assistance with torque adjustment or any other aspect of using our ceramic nail drills, please don't hesitate to [contact us](not provided). We look forward to helping you take your nail care to the next level.
References
- Manufacturer's user manual for the ceramic nail drill
- Professional nail technician experience and expertise
- Industry research on ceramic nail drill technology and performance