

Hey there, nail enthusiasts and salon pros! As a supplier of top - notch ceramic nail drills, I'm stoked to share with you the ins and outs of charging these amazing cordless tools. A well - charged nail drill is like a trusty sidekick in your nail art arsenal, ready to help you create stunning manicures and pedicures. So, let's dive right in!
Why Cordless Ceramic Nail Drills Rock
First off, let me tell you why cordless ceramic nail drills are so awesome. Ceramic is a game - changer when it comes to nail drill bits. It's super durable, heat - resistant, and doesn't dull as quickly as other materials. And the cordless feature? It gives you the freedom to move around your workspace without being tethered to an outlet. You can work on clients anywhere in your salon, or even take your nail art skills on the go.
Understanding Your Drill's Battery
Before we get into the charging process, it's important to understand the battery in your cordless ceramic nail drill. Most of these drills come with rechargeable lithium - ion batteries. These batteries are known for their long life, high energy density, and low self - discharge rate. That means they can hold a charge for a long time and give you plenty of power for your nail work.
The battery capacity of your drill is usually measured in milliampere - hours (mAh). The higher the mAh, the longer your drill can run on a single charge. For example, a drill with a 2000mAh battery will generally last longer than one with a 1500mAh battery.
The Charging Process
Now, let's talk about how to charge your cordless ceramic nail drill. It's actually a pretty straightforward process, but there are a few things you need to keep in mind.
Step 1: Check the Charger
First, make sure you have the right charger for your drill. Using the wrong charger can damage your battery or even pose a safety risk. Most cordless ceramic nail drills come with a dedicated charger that's specifically designed for the drill's battery.
The charger usually has a power cord that plugs into a standard electrical outlet and a connector that fits into the drill. Some chargers also have an indicator light that shows you the charging status.
Step 2: Prepare the Drill
Before you start charging, make sure your drill is turned off. This not only helps prevent any electrical issues but also ensures that the battery charges more efficiently.
If your drill has a removable battery, you can take it out and charge it separately. This can be handy if you want to have a spare battery ready to go. Just make sure you handle the battery carefully and don't damage the connectors.
Step 3: Connect the Drill to the Charger
Once your drill is ready, connect it to the charger. Insert the connector into the charging port on the drill. You should hear a click or feel a snug fit. If the charger has an indicator light, it should turn on, showing that the charging process has started.
Step 4: Monitor the Charging
While your drill is charging, keep an eye on the indicator light (if your charger has one). The light may change color or blink to indicate different charging stages. For example, it might be red when the battery is charging and turn green when it's fully charged.
Don't leave your drill charging unattended for too long. Overcharging can reduce the battery's lifespan. Most modern chargers have built - in protection circuits to prevent overcharging, but it's still a good idea to be cautious.
Step 5: Disconnect the Drill
Once the battery is fully charged, disconnect the drill from the charger. You can do this by gently pulling out the connector from the drill's charging port. Make sure you turn off the charger and unplug it from the electrical outlet to save energy.
Tips for Maintaining Your Drill's Battery
To get the most out of your cordless ceramic nail drill's battery, here are some tips:

- Charge Regularly: Even if you don't use your drill every day, it's a good idea to charge it every few weeks to keep the battery in good condition.
- Avoid Extreme Temperatures: High temperatures can damage the battery, while low temperatures can reduce its performance. Store your drill in a cool, dry place.
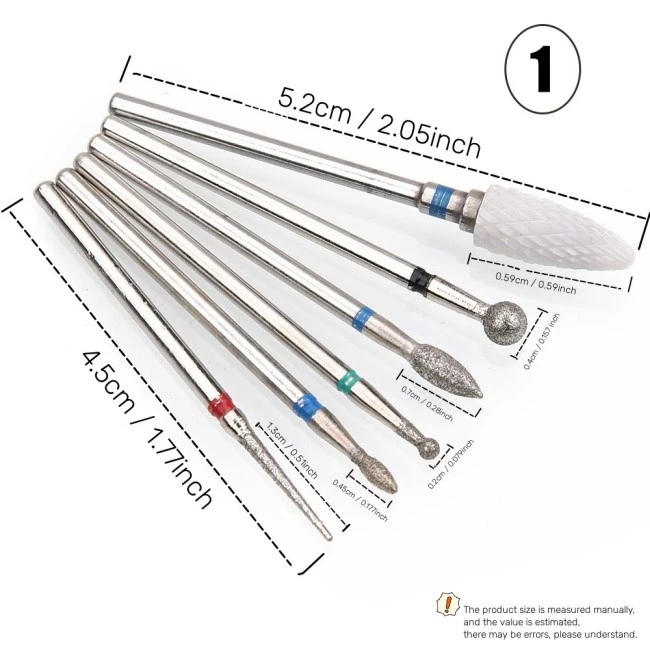
- Use the Right Accessories, When replacing parts or using additional bits, make sure to use high - quality ones. For example, you can check out our Barrel Nail Drill Bit, Nail Drill Cuticle Bit, and Flat Nail Drill Bit for a perfect fit and great performance.
Troubleshooting Charging Issues
Sometimes, you might run into problems when charging your cordless ceramic nail drill. Here are some common issues and how to fix them:
- The Drill Won't Charge: Check if the charger is plugged in properly and if the electrical outlet is working. You can also try cleaning the charging port on the drill and the connector on the charger to remove any dirt or debris.
- The Charging Indicator Light Isn't Working: This could be a sign of a faulty charger or a problem with the drill's battery. Try using a different charger if you have one, or contact the manufacturer for further assistance.
- The Battery Drains Quickly: If your drill's battery doesn't last as long as it used to, it might be time to replace the battery. You can usually purchase a replacement battery from the drill's manufacturer or a reputable supplier.
Conclusion
Charging your cordless ceramic nail drill is a simple process that, when done correctly, can ensure that your drill is always ready to go. By understanding your drill's battery, following the proper charging steps, and taking good care of the battery, you can enjoy long - lasting performance from your drill.
If you're in the market for a high - quality cordless ceramic nail drill or need replacement parts and accessories, we've got you covered. Our range of products is designed to meet the needs of both professional nail technicians and DIY nail enthusiasts. We're always happy to help you find the right tools for your nail art projects.
If you're interested in purchasing our products or have any questions about our cordless ceramic nail drills, feel free to reach out. We're here to have a chat and discuss how we can meet your nail tool needs. Let's create some amazing nail looks together!
References
- Battery University. Lithium - ion Batteries: How to Prolong Life and Maximize Performance.
- Various product manuals of cordless ceramic nail drills.