

Hey there, nail enthusiasts! As a supplier of top - notch nail dryer lamps, I've gotten tons of questions about the best way to place your nails in the lamp for that perfect cure. So, let's dig into this topic and figure out how to get the most out of your Curing Lamp for Nails.
First off, you gotta understand how these nail dryer lamps work. Most nail dryer lamps use UV or LED light to cure nail polish, especially gel polish. The light activates a photoinitiator in the polish, which then starts a chemical reaction that hardens the polish. But if your nails aren't placed right, this reaction might not happen evenly, and you could end up with sticky or uneven nails.
Let's talk about the basic types of nail dryer lamps. There are handheld ones, table - top ones, and even some fancy multi - finger models. Each type has its own ideal way of placing your nails.
Handheld Nail Dryer Lamps
Handheld nail dryer lamps are super convenient. They're great for on - the - go touch - ups or if you're doing a quick polish job at home. When using a handheld lamp, the key is to keep the lamp close to your nails. Hold it about 1 - 2 inches away from the nail surface. Start with your thumb. Place your thumb flat, with the nail facing up towards the lamp. Move the lamp slowly in a circular motion around the nail. This ensures that all parts of the nail get an equal amount of light exposure.
Then, move on to your index finger. Again, keep the finger straight and the nail facing the lamp. Work your way through each finger, spending about 20 - 30 seconds on each nail. Make sure to cover the entire nail, including the edges. The edges are often the trickiest part to cure because they can be a bit hidden from the light.
Table - Top Nail Dryer Lamps
Table - top nail dryer lamps are a staple in most nail salons and are also popular for home use. These lamps usually have a larger area for your hands or feet. When using a table - top Nail Curing Light, first, make sure your hands or feet are clean and dry.
For your hands, place them palm - down in the lamp. Spread your fingers out evenly so that there's space between each finger. This allows the light to reach all sides of the nails. Try to keep your fingers as straight as possible. Bent fingers can cast shadows on parts of the nails, which means those areas won't get cured properly.
If you're using the lamp for your feet, it's a similar process. Place your feet flat in the lamp, with your toes spread out. Make sure the nails are facing up towards the light source. Some table - top lamps have adjustable settings for different nail lengths. If your nails are extra long, adjust the lamp accordingly to ensure full coverage.
Multi - Finger Nail Dryer Lamps
Multi - finger nail dryer lamps are designed to cure multiple nails at once. They're a real time - saver, especially if you're in a hurry. When using a multi - finger lamp, place your hand or foot in the designated area. These lamps usually have specific slots or areas for each finger or toe.
For your hands, place each finger in its slot, making sure the nail is centered under the light. The lamp is usually designed to have multiple light sources to cover all the nails evenly. But still, you might want to give it a quick check to ensure that no part of the nail is blocked from the light.
For your feet, the process is the same. Place each toe in its slot, and make sure the nails are facing up. Some multi - finger lamps have a timer, so set it according to the type of polish you're using. Gel polishes usually take a bit longer to cure than regular polishes.
Some General Tips
No matter what type of nail dryer lamp you're using, there are a few general tips to keep in mind. First, clean your nails before using the lamp. Any dirt or oil on the nails can interfere with the curing process. Second, don't over - expose your nails to the light. Too much exposure can cause damage to your nails and skin. Follow the manufacturer's instructions on the recommended curing time.

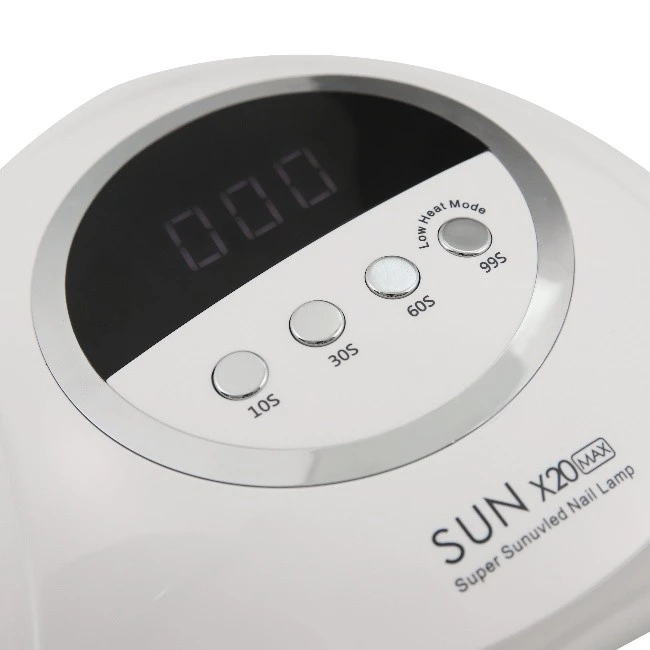
Also, make sure the lamp is in good working condition. Check the bulbs regularly. If a bulb is burnt out, it won't provide enough light for proper curing. And if you're using a lamp with multiple bulbs, make sure they're all working evenly.
Another important thing is to protect your skin. Some people like to wear fingerless gloves or use sunscreen on their hands and feet to reduce the risk of UV damage. This is especially important if you're using a UV lamp.
Why Our Professional Nail Lamp is the Best
Now, I know you're probably wondering why you should choose our nail dryer lamps. Well, our lamps are designed with the latest technology. They have high - quality bulbs that provide even and strong light. This means that your nails will cure faster and more evenly.
Our lamps also come in different sizes and styles to meet your needs. Whether you're a professional nail technician or just someone who loves doing their nails at home, we've got the perfect lamp for you. And we offer great customer service. If you have any questions or issues with your lamp, our team is always here to help.
Let's Connect
If you're interested in purchasing our nail dryer lamps, we'd love to hear from you. Whether you're a small salon looking to upgrade your equipment or an individual who wants a reliable nail dryer for home use, we can provide you with the best products at competitive prices. Reach out to us to start a procurement discussion, and let's work together to make your nail - drying experience amazing.
References
- "The Science of Nail Polish Curing." Nail Care Journal, Vol. 12, Issue 3, 2022.
- "Best Practices for Using Nail Dryer Lamps." Beauty Industry Insights, 2023.