Hey there! As a supplier of LED UV nail dryer lamps, I often get asked about how to charge these nifty little devices. So, I thought I'd put together this blog post to share all the ins and outs of charging an LED UV nail dryer lamp.
First things first, let's talk about why charging your LED UV nail dryer lamp correctly is so important. These lamps are designed to cure UV and LED nail gels quickly and effectively. If they're not charged properly, they might not work at their best, which could lead to uneven curing or longer drying times for your nails. And nobody wants that, right?
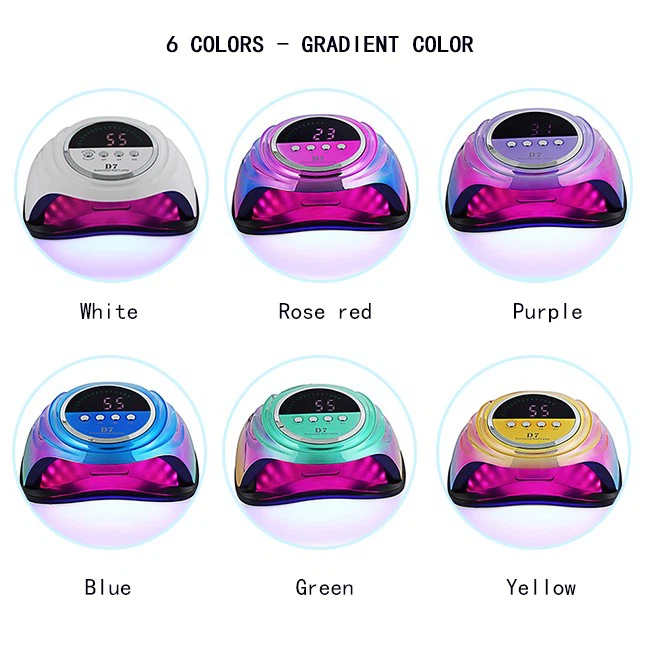
Types of LED UV Nail Dryer Lamps
There are a few different types of LED UV nail dryer lamps out there. You've got the Led Uv Nail Dryer Lamp, which is a popular choice for both professional nail salons and home use. Then there's the Professional Sun UV LED Lamp, which is a bit more heavy-duty and often used in busy salons. And if you're looking for something to use at home, the At Home Gel Led Lamp is a great option.
Understanding the Charging Requirements
Before you start charging your lamp, it's important to understand its specific charging requirements. Most LED UV nail dryer lamps come with a power adapter that you plug into a standard electrical outlet. Some lamps might also have a rechargeable battery, which means you can charge them using a USB cable.
The charging time can vary depending on the type and model of the lamp. Generally, it takes anywhere from 2 to 6 hours to fully charge a lamp. Some lamps might have a built-in indicator light that shows when they're fully charged. If your lamp doesn't have this feature, you can usually check the user manual to find out how long it should take to charge.
Charging Steps
Here's a step-by-step guide on how to charge your LED UV nail dryer lamp:
- Check the Power Adapter: Make sure you're using the correct power adapter that came with your lamp. Using the wrong adapter can damage the lamp or even pose a safety risk.
- Find a Suitable Outlet: Plug the power adapter into a standard electrical outlet. Make sure the outlet is working properly and that it can handle the power requirements of the lamp.
- Connect the Lamp: Plug the other end of the power adapter into the charging port on your lamp. Some lamps might have a magnetic charging connection, which makes it easy to connect and disconnect.
- Start Charging: Once the lamp is connected to the power adapter, it should start charging automatically. If your lamp has an indicator light, it might turn on to show that it's charging.
- Wait for the Lamp to Charge: Depending on the lamp, it might take a few hours to fully charge. You can check the user manual for the estimated charging time.
- Unplug the Lamp: Once the lamp is fully charged, unplug it from the power adapter and the electrical outlet. Make sure to store the power adapter in a safe place.
Tips for Charging
Here are some tips to help you charge your LED UV nail dryer lamp safely and effectively:
- Don't Overcharge: Overcharging your lamp can damage the battery and reduce its lifespan. Make sure to unplug the lamp once it's fully charged.
- Avoid Charging in Extreme Temperatures: Charging your lamp in very hot or cold temperatures can also damage the battery. Try to charge the lamp in a room with a moderate temperature.
- Use a Surge Protector: Using a surge protector can help protect your lamp from power surges and electrical damage.
- Keep the Charging Area Clean: Make sure the charging area is clean and free from dust and debris. This can help prevent the charging port from getting clogged.
Troubleshooting
If you're having trouble charging your LED UV nail dryer lamp, here are some things you can try:
- Check the Power Adapter: Make sure the power adapter is working properly. You can try plugging it into a different outlet or using a different adapter if you have one.
- Check the Charging Port: Make sure the charging port on the lamp is clean and free from damage. You can use a small brush or compressed air to clean the port.
- Reset the Lamp: Some lamps might have a reset button that you can press to reset the charging system. Check the user manual for instructions on how to reset your lamp.
- Contact Customer Support: If you've tried all of these things and you're still having trouble charging your lamp, contact the manufacturer's customer support for further assistance.
Conclusion
Charging your LED UV nail dryer lamp is a simple process, but it's important to do it correctly to ensure that your lamp works at its best. By following the steps and tips in this blog post, you should be able to charge your lamp safely and effectively.
If you're interested in purchasing an LED UV nail dryer lamp or have any questions about our products, feel free to reach out to us. We're here to help you find the perfect lamp for your needs and provide you with all the support you need.
References
- User manuals of various LED UV nail dryer lamps.
- Industry knowledge and experience as an LED UV nail dryer lamp supplier.